Hinomi H1 Classic: Usage Instructions and Ergonomic Tips
Share
STEP 1. Put the seat in the upright position
STEP 2. Adjust the seat height
Push down the lever on the right side to enable seat height adjustment, then release it to lock at the desired height.

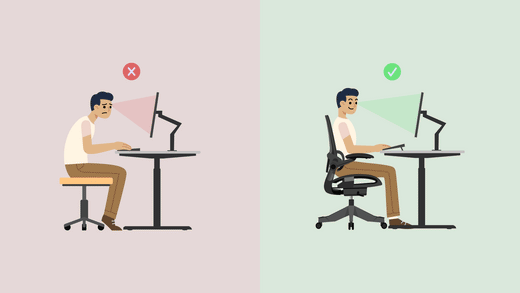
Ergonomic tips: Ensure the chair is adjusted to the correct height so that your feet rest flat on the floor or a footrest. Keep your knees at or below the level of your hips.
STEP 3. Adjust the seat depth

Sit with your back completely against the chair, pull up the rear lever on the left side and use your body to shift the seat to the desired position, then release the lever to lock in that position.
Ergonomic tips: Ensure that there is a small gap (2 to 3 cm) between the back of your knees and the front of the seat so that your back is properly supported by the backrest and your feet rest comfortably on the ground.
STEP 4. Adjust the recline

Recline lock: unlock the recline position by pushing down the other lever on the left side, then lean back to find the desired position. Afterwards, pull up the lever to lock the position. You can lock the recline in 4 different angles. Please note that once the chair is locked in a position, it will not automatically be reset back to the original position until you push down the lever and lean back again.
Ergonomic tips: Vary your position regularly to reduce the pressure on your body to prevent and relieve back pain.
STEP 5. Adjust the lumbar support height

Pull the lumbar support up or down for height adjustment.
Ergonomic tips: The lumbar support should fit right in the natural curve of your lower back.
STEP 6. Adjust the armrests

- Height adjustment: flip up the handles on the sides of the chair frame to adjust the height of the armrests. Flip down the handles to lock the desired height.
- Pivot adjustment: press the button under the armrests and rotate it to change the angles.
- Flip up the armrests: simply flip up the armrests to play music instruments freely. Before flipping up the armrest, simply rotate them outwards to avoid hitting the backrest.
Ergonomic tips: Keep your forearms parallel to the ground to relax your shoulders. Adjust and ensure that the armrests can support different arm placements and movements to help relieve shoulder and upper back pressure and strain.
STEP 7. Adjust the headrest (optional)

Pull the headrest vertically to increase or decrease the height. Then, tilt the surface of the headrest to find the desired angle.
Ergonomic tips: Ensure your head and neck are cradled by the headrest and the top of your monitor is at or slightly below eye level.